In one of my earlier entries I wrote about the hubby's adventure in yogurt making. We love yogurt because it has many health benefit though not many Malay/Asian dishes use yogurt as an ingredient. Thus, we don't find that many kinds of yogurt here in Malaysia as you may find in other countries. One of the ways that we use yogurt is in smoothies (we love that in the mornings!). Anyway, since those early experiments in yogurt-making, the hubby has 'fine-tuned' his method and now we have yogurt every-time (or whenever he has time to make it..!). Some people use the oven or cooler or heating pads or whatever to keep the milk warm in the final process but the hubby uses the rice-cooker. Actually we have a rice-cooker which does not keep the rice fresh very long in it after cooking so I refuse to use it (wasting good rice!) and now we have another one (the 'old-fashioned' one with the take-off lid that makes easy washing) Well, so now the hubby has found a use for it - yogurt making!
So. if you have that kind of rice-cooker lying around why not try your hand at making yogurt..eh? It's so easy and the hubby doesn't use thermometers and sterilisers and what-nots.. Okey dokey, let's start:
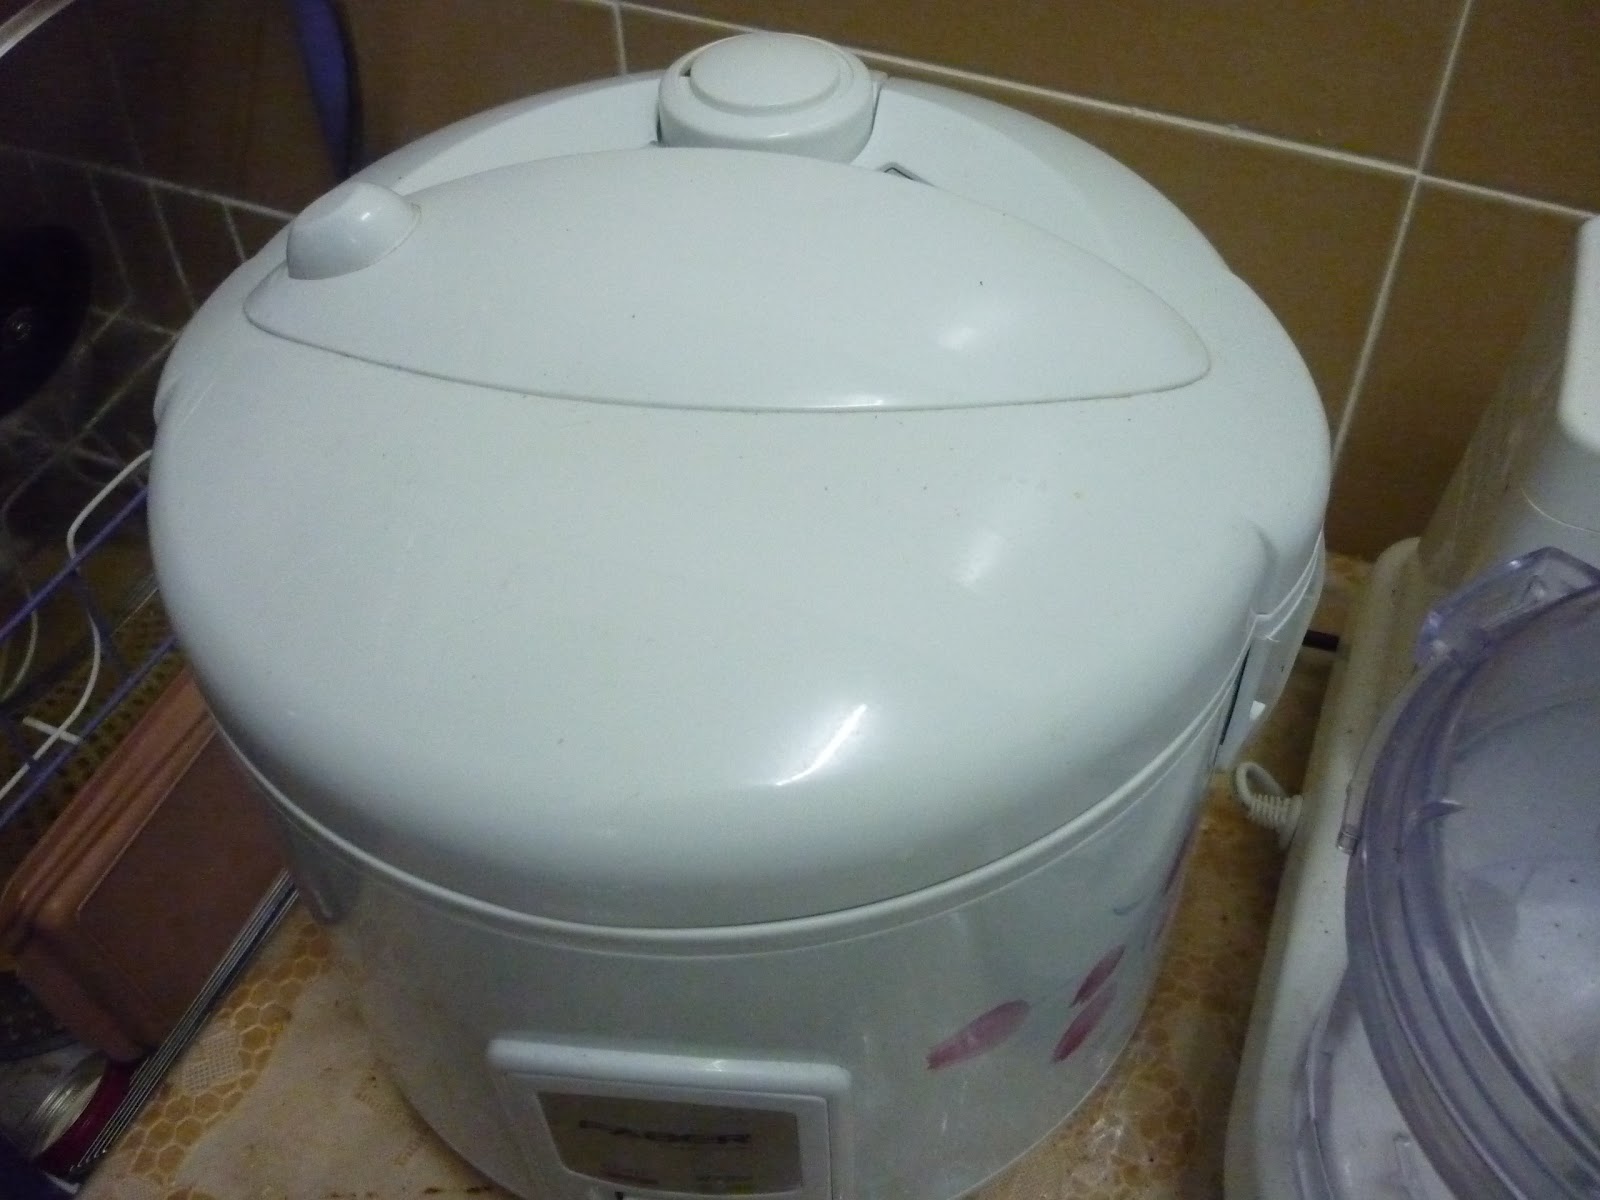
1) First, you'll need to fill the rice cooker with water and turn it on; like so:
 |
| This is the kind of rice-cooker that I mean.. |
2) We use powdered milk (the low fat kind) but if you want to use whole milk, you may do so..or if you want to use the regular milk you will need 3 mugs (we're not making a lot of yogurt - just to last us for about a week or so for our smoothies). 9 tablespoonfuls of powdered milk into the pan:
 |
| There you go...you may use your regular tablespoon - not rocket science |
3) Then we add in 3 mugs of water:
 |
| Regular drinking mug.. |
4) Whisk the milk mixture thoroughly and heat it up on a stove. Turn it off when you see it starts to bubble at the edges and just before it boils over.
 |
| On the stove - make sure you watch it or else it'll boil over.. |
5) In the meantime fill in your sink with water:
 |
| Sink filling in.. |
6) Put your pan of milk in to cool in the sink. Let it cool until you could dip your finger in without scalding yourself (it would take a few minutes). You don't want the milk to be so hot that it'll kill the bacteria that we're going to add in after this..
 |
| Pan sitting nicely in the sink.. |
7) OK..when the milk is about ready (lukewarm), we add in the 'starter'. This is yogurt that you get from the supermarket. You just need a small tub that they usually sell; make sure you get the 'natural' one and not the flavoured kind..
 |
| Add it all in.. |
8) Whisk the 'starter' thoroughly with the milk..
 |
| Whisk, whisk.. |
9) Have an airtight container ready (Tupperware would be ideal) and pour in the milk/yogurt mixture.
 |
| Pouring it in.. |
 |
| Putting on the lid.. |
10) Now, immerse the container into the rice-cooker that has been filled with water and heated up. You need to switch it off when the water bath is about lukewarm.
 |
| Now you see why you need to have an airtight container.. |
11) Snap the lid shut and wait for about 8 - 12 hours (you can do it at night and by next morning, InsyAllah, it'll be ready)
 |
| This kind of rice-cooker is a good insulator and will keep the milk at the right temperature for the process to complete. |
 |
| Ta daa... |
You may find the resulting yogurt to be rather watery at times. That's OK; all you need to do is to spoon or drain it off, but don't waste the liquid! It's called whey and very nutritious; full of protein. You could add it to soups or use it to make bread or whatever...
(Actually, I've never tried my hand at making the yogurt myself.. I usually watch (and take pictures) as the hubby makes it. But I think I'll have a go at it one day..now that I have this entry to guide me..or the hubby to make me! I always say: if you have somebody to do it for you, don't bother to learn it, just keep the person happy doing it for you..lol!)


Salaamu aleikoum, BarakAllahui fiki for this great recipe!
ReplyDelete